Blog, Heel Pain
4 hacks for Achilles heel pain
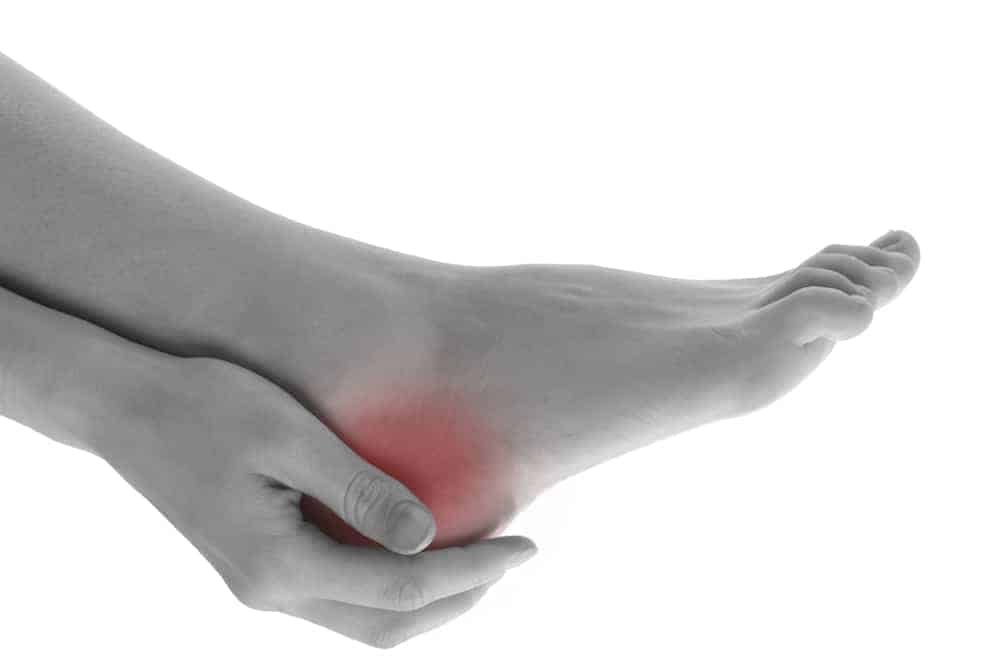
The Achilles tendon is a tough fibrous band of tissue (tendon) that runs down the back of the leg and inserts into the base of the heel bone (calcaneus). It attaches the calf muscle to the heel bone.
Achilles tendinopathy is a common condition that causes pain in the back of the heel HOWEVER, it is not the same as Achilles tendonitis.
“For many years all Achilles tendon pain has been referred to as ‘Achilles Tendonitis’, which refers to an ‘inflammation of the tendons’—causing a deep nagging pain, swelling and inflammation.
“Yet in most cases we’re seeing degeneration of the tendon, referred to as tendinopathy. This is described as a breakdown of tissue in the tendon, often caused by long-term overuse. While at times there may be signs of some inflammation, deterioration of the tendon generally presnts without any inflammation but it can be still painful,” explains podiatrist Dr Brenden Brown.
Symptoms of Achilles tendinopathy can vary from person to person but can include:
- Pain – usually on taking the first step in the morning
- Pain after standing for long periods
- Pain that can be lasting and debilitating
- Pain may be accompanied by swelling and tenderness
- Pain on compression (shoes and tight garments)
“It’s important not to assume that inflammation is present, as this will lead you down the wrong treatment path and prolong the pain,” adds Dr Brenden.
While there are numerous treatments for Achilles heel pain, many are now considered ineffective. Let’s start by addressing some common myths.

Rest is not best
It’s far better to keep moving than to rest up. Tendons hate change; if you stop doing activity due to Achilles tendinopathy the pain might go away initially, but once you resume activity the pain will no doubt return. Instead, continue with your regular level of activity in consultation with a sports podiatrist.
Similarly, prescribing an immobilisation boot (moon boot) to treat Achilles tendinopathy is outdated advice for exactly the same reason that ‘rest’ is not recommended!

Stretching won’t cure your Achilles pain
Stretching as a treatment modality for Achilles pain is archaic. Stretching simply pulls the Achilles at the point in which it goes into the back of the heel, putting additional pressure on the tendon and causing further irritation.
It also pulls the achilles over the posterior (back) of the calcaneus (heel bone), which further irritates the tendon. As a general rule, if the activity does NOT increase your pain and does not irritate the tendon—it’s safe to continue.
Steer clear of cortisone injections
Aside from being incredibly painful, evidence suggests that cortisone is of no use in treating Achilles tendinopathy.
In some cases cortisone may provide a temporary fix but it doesn’t address the underlying problem. As the injection wears off the pain often comes back significantly worse. Plus, the more injections you have, the more likely you are to rupture the tendon as they may, on occasion, weaken the junction where they join the bone.
Don’t waste your money on anti-inflammatories
While some inflammation may be present, not all Achilles pain causes inflammation. If there’s no inflammation, there’s no point in taking anti-inflammatories!
Now let’s look at a few ways you can successfully address your Achilles heel pain.
Hack #1—Perform isometric strength exercises
While stretching is of no use for Achilles heel pain, isometric strength exercises can be beneficial.
- Stand up straight, holding onto a bar or supportive surface;
- Raise both heels up so you’re on your tiptoes
- Lower both heels down half a centimetre
- Hold for 20 seconds.
NOTE: If you wobble, drop down and don’t raise heels up and down; this is a static movement.
Once you are able to comfortably hold the raised position for 20 seconds, progress (by a couple of seconds a day) to about 45 seconds
Finally, move to single leg heel raises. Stand on one leg (make sure you’re holding on to something for balance), bend the leg you’re standing on, raise the heel making sure your knee is directly over foot, lower the heel half a centimetre and hold.
Do the same on the other leg and build up the length of time you are holding for.
Hack #2—Heel raisers
Heel raisers are really helpful for Achilles heel pain as they temporarily offload the tissue, providing great relief. We recommend starting with about a half a centimetre heel raiser but for best results have a podiatrist assess your individual need and adapt your shoes to suit.
Hack #3—Ice
Achilles tendinopathy is not completely inflammatory, but in cases where inflammation and swelling is present, ice can be useful. We recommend ice immersion, as opposed to using an ice “pack”.
- Take a bucket of cold water (NO ice yet)
- Put your foot in the bucket (making sure it covers the entire area including above the injured area up the calf)
- Grab a bag of ice and add one cup to the bucket of water
- Wait for 2 minutes
- Add another cup of ice, wait for 2 minutes and so forth
- Once you feel like you want to pull your foot out (because it’s so cold)– leave it in for 20 minutes.
- Pull the foot out for 20 minutes
- Repeat another twice (three immersions in total).
- Do this for 4-7 days.
Think you have Achilles tendinopathy?
A Step Ahead Foot + Ankle Care is based in Western Sydney. We have multiple practitioners with loads of experience in treating Achilles heel pain.
If you’d like more information please contact our helpful front desk team. They are brilliant at working through what help you need, guiding you to the appointment that is right for you or your family, running through cost and then reserving your appointment time. Call us today on +61 2 9673 2987. We look forward to helping.
Got a question about Achilles heel pain or any other foot or ankle concerns? Visit us on Instagram #AskDrFoot
Related articles:
Facebook live sessions:

Fungal Nails
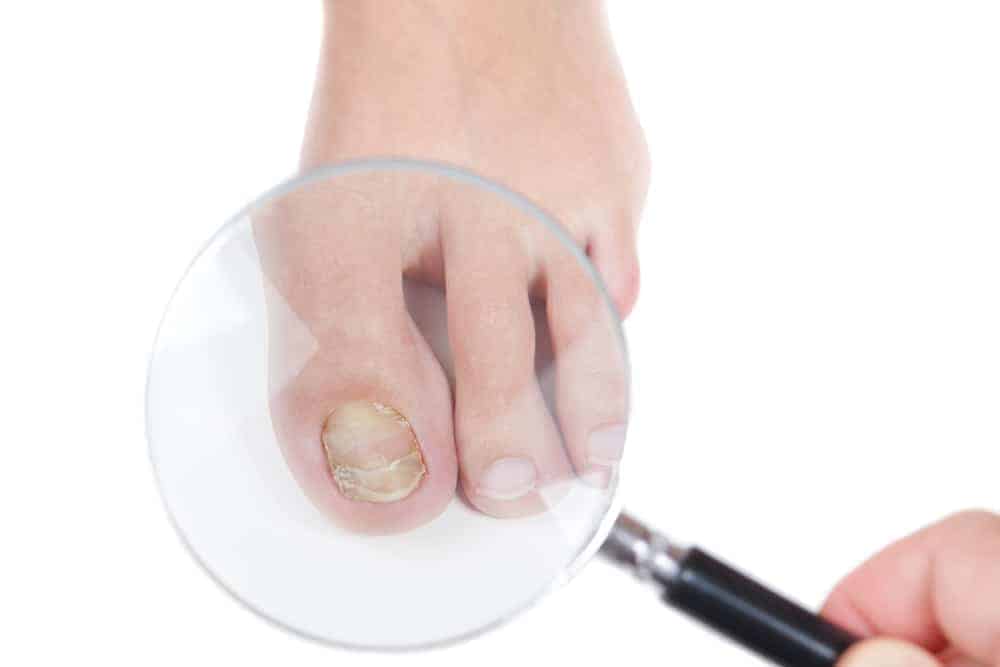
Nailing fungus with laser technology
Fungal nail infection can be unsightly and embarrassing. Not only can it cause the nail to thicken and turn a yucky yellow-brown colour, it can also lead to a nasty smell for some people. The other downside (Yes, there’s more!) is that fungal nail infection is notoriously hard to treat…until now!
If you have a fungal nail infection, you’re certainly not alone. It’s incredibly common and as a result people are willing to do anything to fight it. From drinking apple cider vinegar and applying Vicks VapoRub to slathering the toenail in tea tree oil, there’s a stack of weird and wonderful myths about treating fungal nail. Of course, none of them work.
Podiatrist Dr. Brenden Brown from Sydney-based clinic A Step Ahead Foot + Ankle Care explains, “Even over-the-counter treatments have a low success rate because of the side effects or the fact that the treatment takes months, even years—leading to poor adherence.”
The other important factor to consider when choosing a treatment for fungal nail infection is that fungus lives under the nail. If treatment doesn’t penetrate the nail (as is the case with ointments, lacquers and drops) it’s unlikely to kill the fungus.
This is where laser treatment comes in. Thanks to the wonder of science, laser has shown to be highly successful in treating fungal nail infection. Oversees studies have shown success rates as high as 80%*.
The lowdown on laser
Laser treatment works in the following way:
- Laser light passes through the nail plate into the nail bed
- The light is absorbed into the fungi
- The heat from the light kills both the fungi and the spores
A Step Ahead has been using laser for more than four years with amazing results. Although, not all laser treatments are equal.
Podiatrist Dr. Ryan Romero says, “Some clinics only treat the infected nail but we treat every single nail. We do this because the evidence shows that although you might not see the fungus in other nails, it’s 100% likely the fungal spores are there. Treating just one toenail almost guarantees failure. We treat all 10 toes and that’s why we’re seeing such fantastic results.”
Benefits of laser treatment for fungal nail
- Highly effective with high success rates reported
- Kills nail fungus in as little as two or three sessions
- No anaesthetic required
- No medication required
- Faster and more effective than topical ointments
- Minimal discomfort (just a warm sensation on application)
- No known side effects
“We see many people who have tried laser therapy elsewhere but haven’t got the results they wanted,” says Dr. Brenden. “There are many reasons for this but it shouldn’t put them off laser treatment all together.”
The right treatment and advice for fungal nail
A fungal nail infection is a lot like a tummy bug; it can be passed on to family members quite easily, so it’s important to do everything it takes not to share it and to prevent re-infection.
A vital part of treating fungal nail infection is finding the cause. Fungal spores live everywhere; in the carpet, in your shoes, in your socks— so it’s important that all of these areas are treated, not just the toenail and surrounding area.
A Step Ahead ensures all its patients are armed with the right take-home advice to banish rogue fungi spores and keep fungal nail infection at bay for good.
Next steps…
If you’re losing the fight against toenail fungus, let us nail it with laser!
A Step Ahead Foot + Ankle Care is based in Western Sydney. We have multiple practitioners with loads of experience treating fungal nail infection!
If you’d like more information please contact our helpful front desk team. They are brilliant at working through what help you need, guiding you to the appointment that is right for you or your family, running through cost and then reserving your appointment time. Call us today on +61 2 9673 2987 we look forward to helping.
Got a question about fungal nail or any other foot or ankle concern? Visit us on instagram #AskDrFoot or check us out on Facebook.
Related articles:
Beating fungal nail infection this beach season
How to treat and prevent fungal nail
* No medical treatment can guarantee 100% success. Registered medical and health professions in Australia are by law not allowed to guarantee success. This comes as a result of all human bodies reacting differently to treatments. Patients should thoroughly consider all treatment options available to them.

Sports Care
Dr Brenden Brown, sports podiatrist from Sydney-based A Step Ahead Foot + Ankle Care, says, “Cold muscle is less pliable which means it has to work harder to accommodate a given load and will be more resistant to sudden stretch. Less pliable muscle tissue is also more susceptible to overuse injuries so never underestimate the importance of warming up (correctly!).”
He provides 4 steps to a successful warm up

4 hacks for a successful warm up
#1 Set aside adequate time
Warming up prepares the body for sport by improving blood flow to the different areas, increasing the muscle temperature and making muscles more pliable. The result – less likelihood of injury!
“The warm-up routine needn’t take half an hour, but it should take a good 10-15 minutes,” says Dr Brenden.

#2 WALK, before you run!
All too often players arrive at their sports training session and the coach shouts, “Right, go for a run”. This is way too much sudden change for the muscles.
No matter what sport or activity, players can begin their warm-up by walking.
Dr Brenden advocates the ‘Two footy fields or eight netball courts’ approach to warming up…
- Start slowly walking around the outside of 2 footy fields, end-to-end or side-to-side. For court sports, this equates to approximately 8 laps of the court!
- As you walk further SLOWLY pick up the pace. “NEVER get to a run!”
- You will do 2 complete laps of the 2 fields or 8 laps of the courts.
- NOW you are ready to look at further warm up exercises and maybe that coach’s run!

#3 Perform activity-specific warm ups and training
Let’s take netball as an example, there’s little point in netballers shooting hoops and running straight up and down the court in their warm-up and training sessions. It’s far better to do side-to-side jumps, high jumps and lands, as well as cutting movements. This is much more specific to what they’ll likely to be doing on the court and will help ensure the appropriate muscles are warmed up.
Same goes for footy, rugby or any other sport for that matter; make sure the warm up exercises you perform are relevant to what you’ll be doing on the field or pitch.

#4 Should you really stretch before sport?
This is an important question, particularly as when you stretch out a muscle and hold it there (static stretching) you can push the tissue past where it needs to go, which could do more harm than good!
According to the experts, stretching is NOT PROVEN to help prevent injury, curb muscle soreness after exercise or improve your performance.
In his paper ‘Does stretching improve performance? A systematic and critical review of the literature’1 sports medicine physician Ian Shrier writes, “An acute bout of stretching does not improve force or jump height, and the results for running speed are contradictory. Regular stretching improves force, jump height, and speed, although there is no evidence that it improves running economy.”
Another article2 states: “Static stretching before exercise can weaken performance, such as sprint speed, in studies. The most likely reason is that holding the stretch tires out your muscles.”
It goes on to say, “you should warm up by doing dynamic stretches, which are like your workout but at a lower intensity.”
Dr Brenden explains, “Dynamic stretches differ from the norm in that they stretch the body fluidly through an entire range of motions. Instead of holding the muscle in a stationary stretched-out position, you move gradually through the movement. This also allows you to make the stretching movement more specific to the sport you’ll be playing.”
Related:
4 hacks for staying injury free this winter sports season
Warming up for sport—why bother?
Sources:
-
https://www.ncbi.nlm.nih.gov/pubmed/15377965
-
https://www.webmd.com/fitness-exercise/features/how-to-stretch#1

Kids Feet
Pain (usually described as aching, throbbing or cramping) in the thighs, calves, behind the knee of one or both legs, or in the feet that occurs in the evening or night. These are the typical symptoms of ‘growing pains’. However, despite the name—there’s no evidence that growing is painful.

Growing pains and what you can do about them
So what is causing your child’s pain?
Muscle overuse during the day is a likely cause of musculoskeletal pain at night. Muscle overuse can be caused by simple and common activities such as running, jumping, climbing or even standing for lengthy periods.
Common symptoms of activity-based musculoskeletal pain include:
- Pain located in the lower limbs
- Pain is isolated to lower limbs (legs, calves, ankles, feet)
- Likely incidence of sport or activity within last 48 hours
- Pain can worsen as child continues activity
- Temporary relief may be achieved with pain relief medication, massage or heat packs
Treating ‘growing pains’
“Children suffering from ‘growing pains’ are commonly told, “they’ll grow out of it” or “just rest” — this advice is not only disappointing and frustrating for parents it is NOT A TREATMENT MODALITY,” says podiatrist and founder of A Step Ahead Foot + Ankle Care Dr Brenden Brown.
If the discomfort is linked to activity-based musculoskeletal pain, there are a myriad treatment options including:
- Foot posture assessment
- Soft tissue rehab therapy
- Warm-up and training modifications
- Progressive muscle loading
- Prescription orthotics (ideally soft and pliable)
“The answer to ‘growing pains’ is that you don’t need to wait until your child outgrows the pain. The pain experienced is treatable with the right assessment and approach,” advises Dr Brenden.
A Step Ahead Foot + Ankle Care is based in Western Sydney. We have multiple practitioners with lots of experience in helping kids become pain free.
If you’d like more information please contact our helpful front desk team. They are brilliant at working through what help you need, guiding you to the appointment that is right for you or your family, running through cost and then reserving your appointment time. Call us today on +61 2 9673 2987 we look forward to helping.
Got a question about growing pains, musculoskeletal pain or any other foot or ankle concern? Visit us on Instagram #AskDrFoot @AstepAheadFootandAnkleCare or Facebook @podiatristsydney
Related articles:
Growing pains—more than just pain from growing
Taking care of common kids’ foot complaints
Heels pain in active kids (Sever’s disease)
Infographic: Common kids’ heel pain

Heel Pain, Kids Feet, Uncategorized

INFOGRAPHIC: Common kids’ heel pain


 Dr Brenden’s White paper report on the “6 Reasons You Won’t Beat Heal Pain” outlines what’s stopping you from beating this and tips on how to stop it in its tracks!